Sleep Yoga Poses – Yoga For Beginners
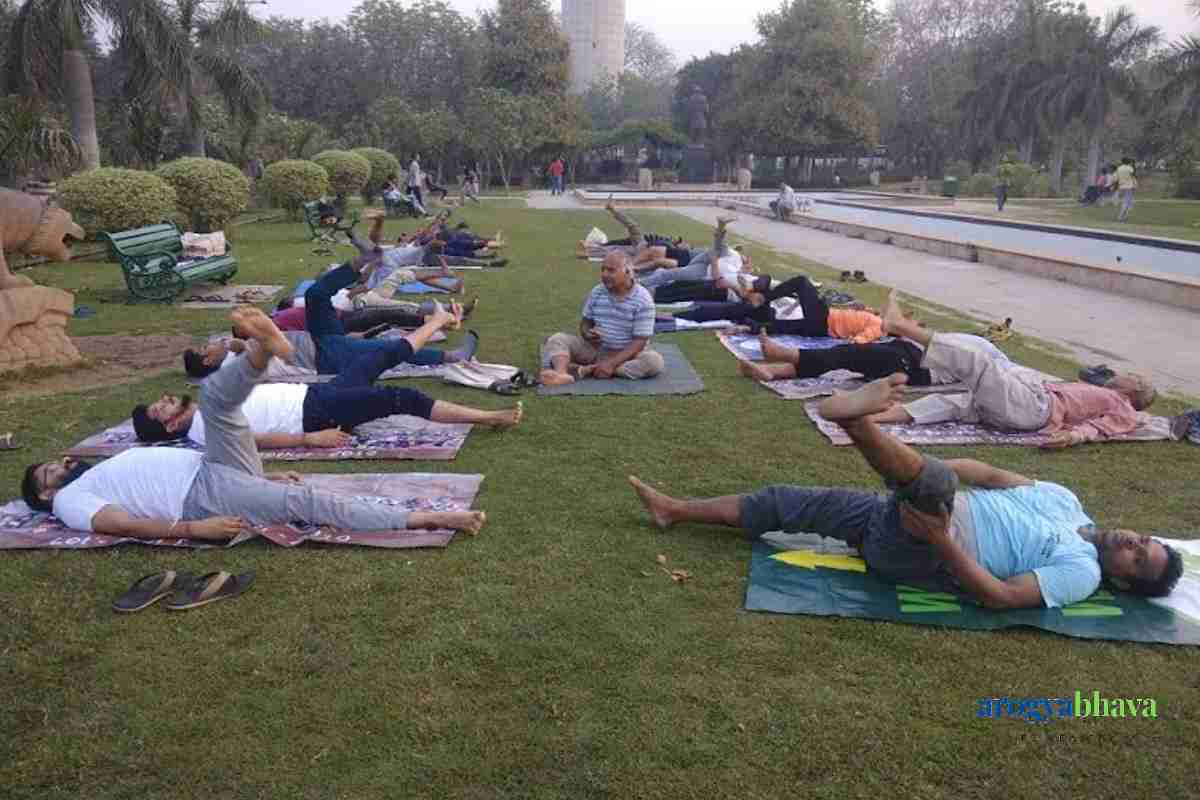
Sleeping yoga poses are performed in a sleeping position. Here, the specifics of a few asanas are provided. Targeting the organs that are impacted while lying down helps determine the best sleeping positions. It is suggested to start the practice of yoga with a sleeping position only. Once you practice enough sleeping yoga poses, you can go ahead for other categories of yoga poses.
Sleeping Yoga Position
The following sleeping poses, which are performed while laying on one’s back, stomach, and chest, are:
- Shayanasana (Shavasana, Corpse pose)
- Uttanapadasana (Raised leg pose)
- Pawanmuktasana (Gas release pose)
- Sarvangasana (Shoulder pose)
- Halasana (Plough pose)
- Karna Pidasana (Ear pressure pose)
- Matsyasana (Fish pose)
- Makarasana (Crocodile pose)
- Bhujangasana (Cobra posture)
- Shalabhasana (Locust pose)
- Dhanurasana (Bow pose)
- Hridaystambhasan
- Boat posture (Naukasan)
1. Sayanasana (Shavasana, Corpse pose, Yoga Nidra)
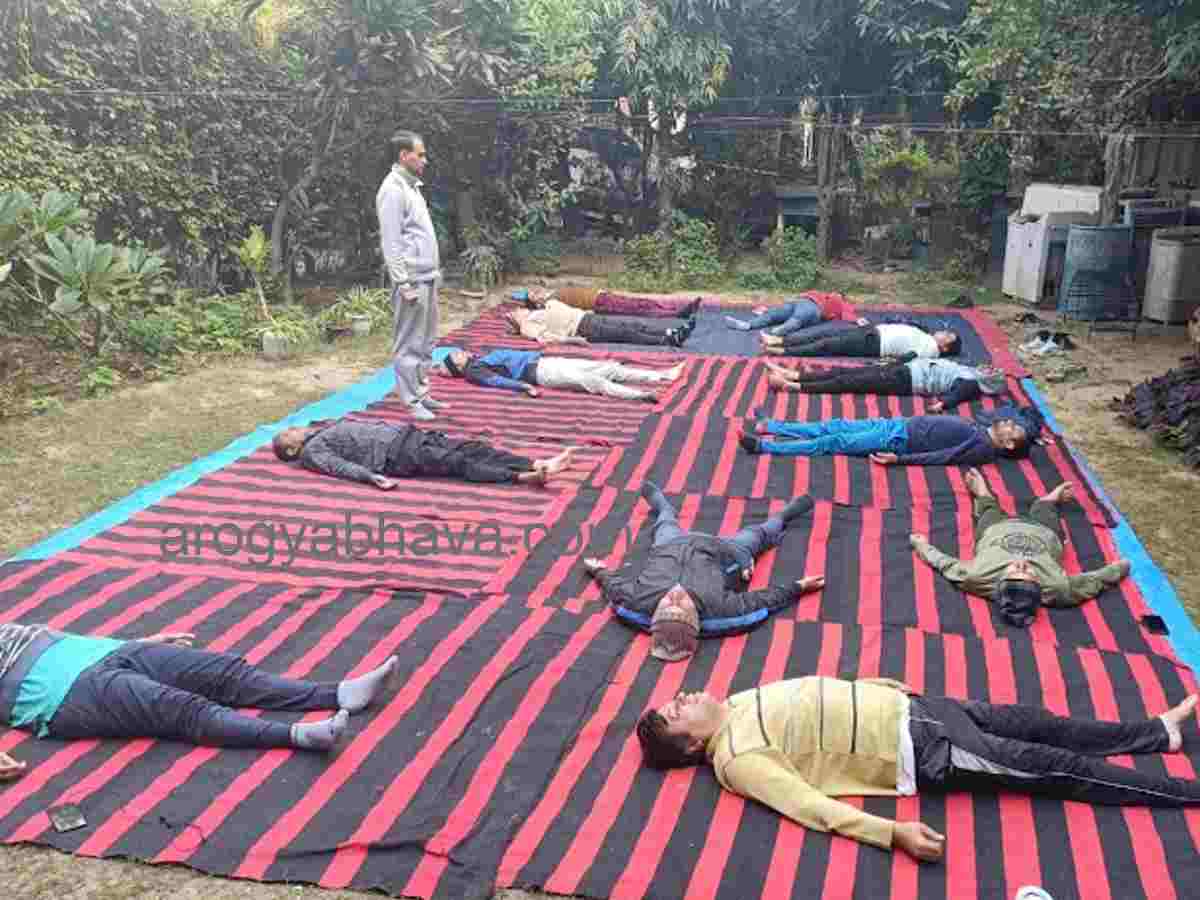
One of the important easy asanas done while lying on the back is Shavasana (corpse pose). It is very beneficial in easy insomnia, mental stress, exhaustion, heart disease, high blood pressure etc.
Regular Yogasana practitioners are advised to practice Shavasana in between. Just after the practice of difficult yoga asanas, the practice of Shavasana is necessary for a way.
Read in detail: Yoga Nidra: Method, Rules, and Benefits
2. Sarvangasana (Shoulder pose)
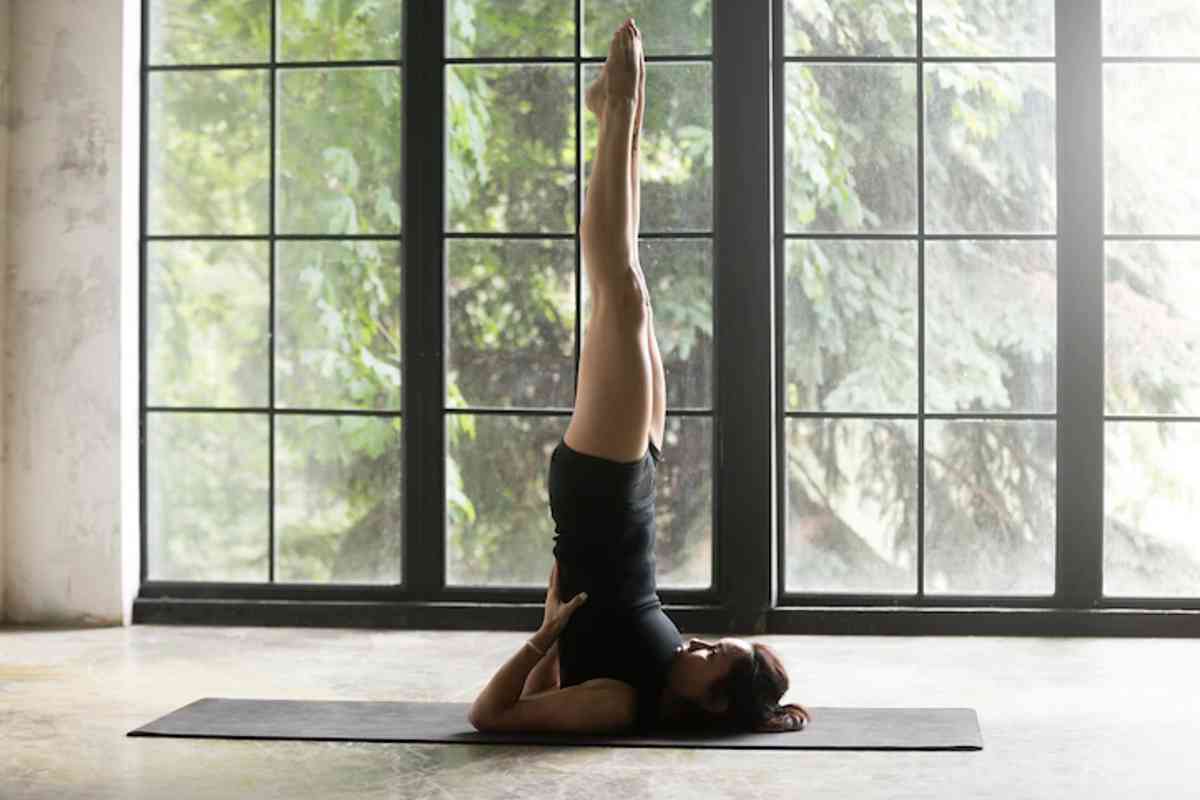
How to do Sarvangasana
- Lie straight on your back. Keep the feet together, and keep the palms facing the ground by touching the hands on both sides.
- Inhaling slowly raise the legs to 30 degrees, then to 60 degrees and finally to 90 degrees. Can take help from hands while lifting the legs. If you are not straight at 90 degrees, then by taking the leg at 120 degrees and lifting the hands, apply it behind the waist. The elbows should rest on the ground and keep the legs together and straight. Paws should be stretched upwards and eyes should be closed or keep an eye on the toes. Starting from two minutes, gradually this asana can be done for half an hour.
- While coming back, bend slightly backwards keeping the legs straight. Remove both hands from the waist and straighten them on the ground. Now slowly straighten the back and then the legs on the ground in the order in which you got up while pressing the ground with the palms. Rest in Shavasan for almost the same amount of time as Sarvangasana is performed. Matsyasana is a competitor or complementary to this asana. Therefore, doing matsyasana (fish pose) before resting in Shavasana gives more benefits than this asana.
The Benefits of Sarvangasana
- Makes the thyroid active and healthy. That’s why obesity, weakness, lack of growth and fatigue etc. disorders go away. Strengthens the adrenal, sperm and ovaries.
- All other benefits are similar to Shirshasana. But the speciality of this asana is that those for whom Shirshasana is prohibited can also do it.
- This posture has also been found useful for 2-3 stages of asthma; Because the shoulders are stable in this asana.
- Due to the weight of abdominal organs, intestines etc. falling on the diaphragm muscle and participating in breathing, the tone of the diaphragm improves.
- Due to the activation of the thyroid and pituitary glands mainly by this asana, it is especially useful in the growth of height.
Also Read: Different Types of Yoga Poses (Asanas) And Their Benefits
3. Uttanapadasana
How to do Uttanapadasana:
- Lie down on your back. Palms should be towards the ground, legs should be straight, and claws should be together.
- Now by inhaling, raise the legs up to 1 foot (about 30 degrees) slowly. Stay in this position for some time.
- While coming back, slowly lower the feet to the ground, not with a jerk. Take some rest and then do the same action.
- This should be done 3 to 6 times.
- Those who have more pain in the back should practice this step-by-step with each leg.
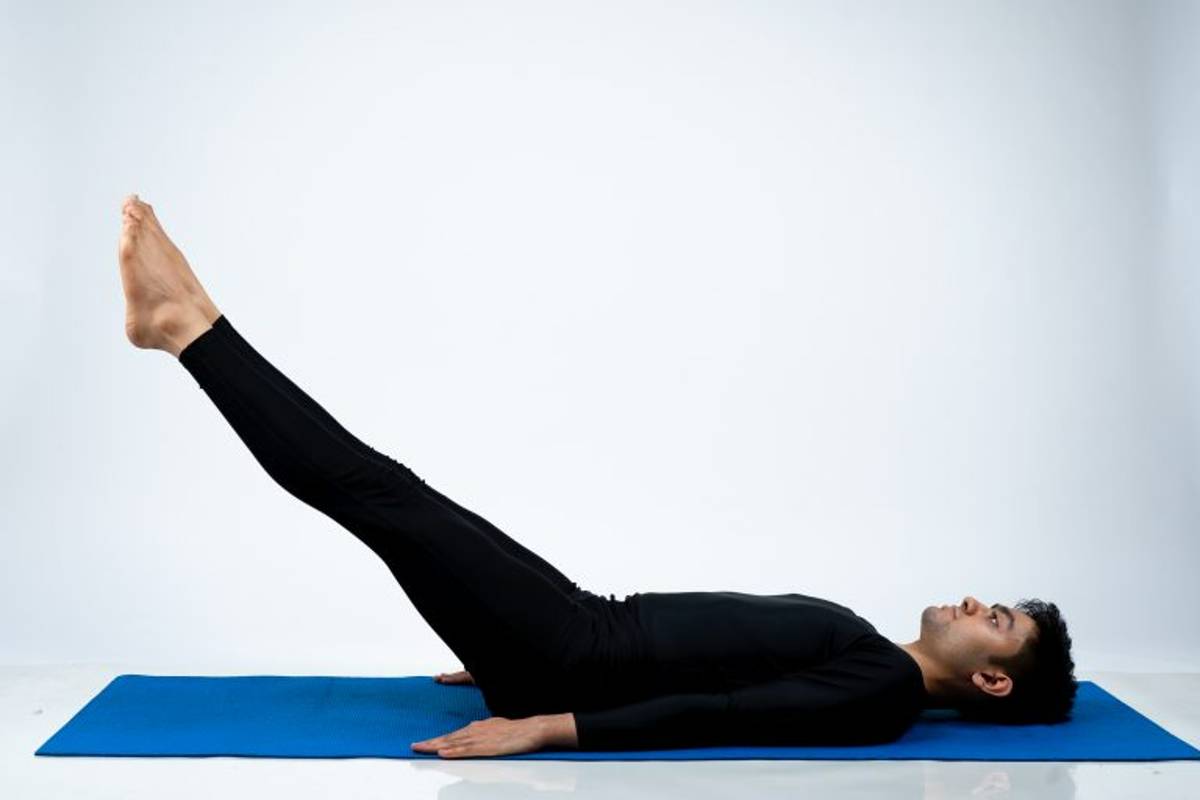
The Benefits of Uttanpadasan
- This asana makes the intestines strong and healthy and removes constipation, gas, obesity etc. and increase the hunger.
- Avoidance of the navel is also useful in heart disease, stomachache and respiratory diseases.
- Doing it step by step with one leg is especially beneficial in back pain.
4. Halasana (Plough Pose)
Steps to do Halasana (Plough Pose)
- Lie down on your back, now slowly raise your legs while inhaling. First 30 degrees, then 60 degrees, then after lifting up to 90 degrees, move the legs towards the back of the head while exhaling while lifting the back also.
- Rest the feet on the ground behind the head. The speed of breathing will be normal. In the beginning, you can put your hands behind the waist for convenience. In full position, keep the hands on the ground only. Stay in this position for 30 seconds.
- While coming back, press the ground with the palms in the same sequence in which you came up, keeping the legs straight from the knees and keeping them on the ground.
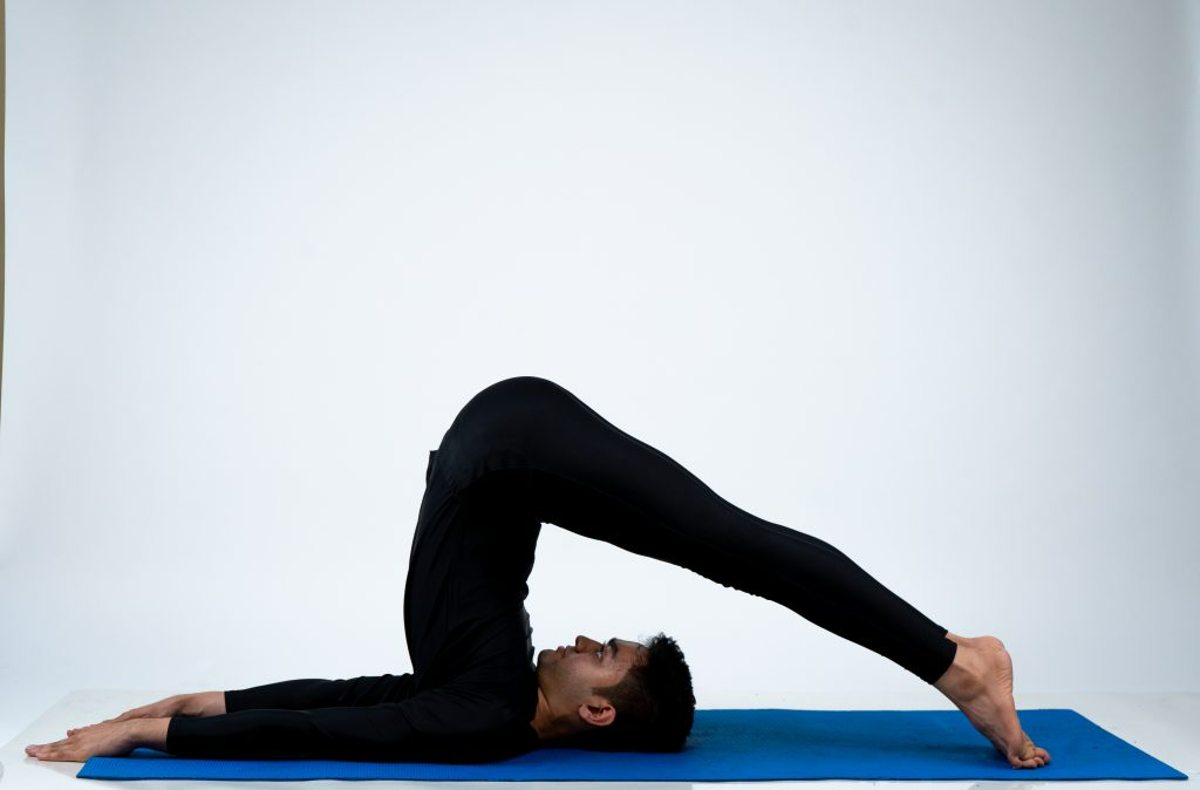
The Benefits of Halasana (Plough Pose):
- By making the spine healthy and flexible, it also makes the back muscles broad and healthy.
- By tightening the thyroid gland, it removes obesity, dwarfism and weakness etc.
- Beneficial in indigestion, heartburn, gas, constipation, enlargement of the spleen and liver and heart disease.
- Removes diabetes by activating the pancreas.
- This asana is also useful in gynaecological diseases like dysmenorrhea.
Who should not do Halasana (Plough Pose):
- This asana is prohibited in the enlarged spleen and liver.
- Patients with high blood pressure, cervical etc. also should not do this.
- TB in slip disc and spine.
- Do not do this asana even if you have disorders.
5. Boat posture (Naukasan)
Steps to do boat pose
- Lie down straight by placing both hands on the thighs.
- Now, while inhaling, first raise the head and shoulders, then raise the legs as well. Hands, legs and head should be raised parallel like a boat.
- After stopping for some time in this position, slowly bring the hands, feet and head to the ground while exhaling.
- In this way, you can repeat from 3 to 6 times.
- The competitor of this asana is Dhanurasana. This means Dhanurasana should be done after the boat poses only.
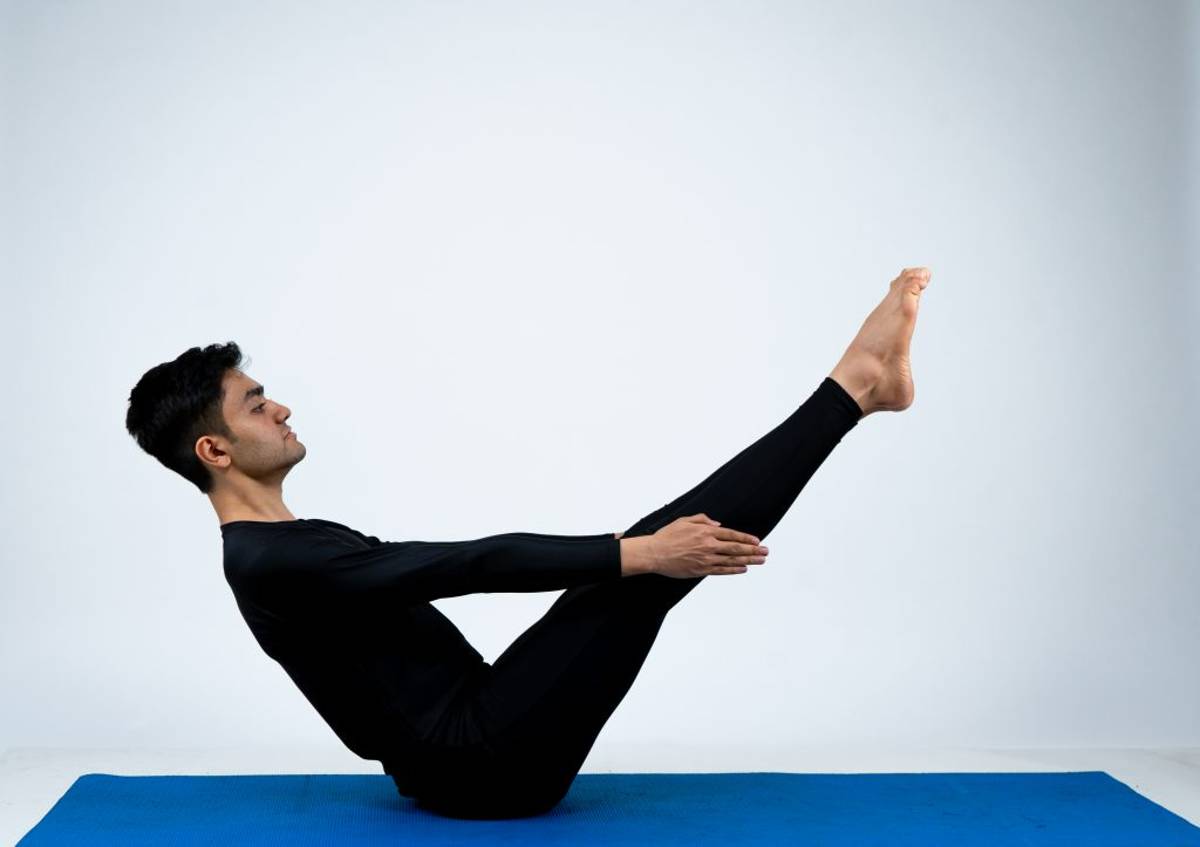
Benefits of Boat Pose
- This pose strengthens and nourishes the intestines, and gets rid of constipation, gas, fat, etc.
- The heart and lungs also become strong by the entry of Pranavayu.
- It is good for the health of the intestine, stomach, pancreas and liver etc.
6. Pawanmuktasana (Gas Release Pose)
Steps to do Pawanmuktasana (gas release pose)
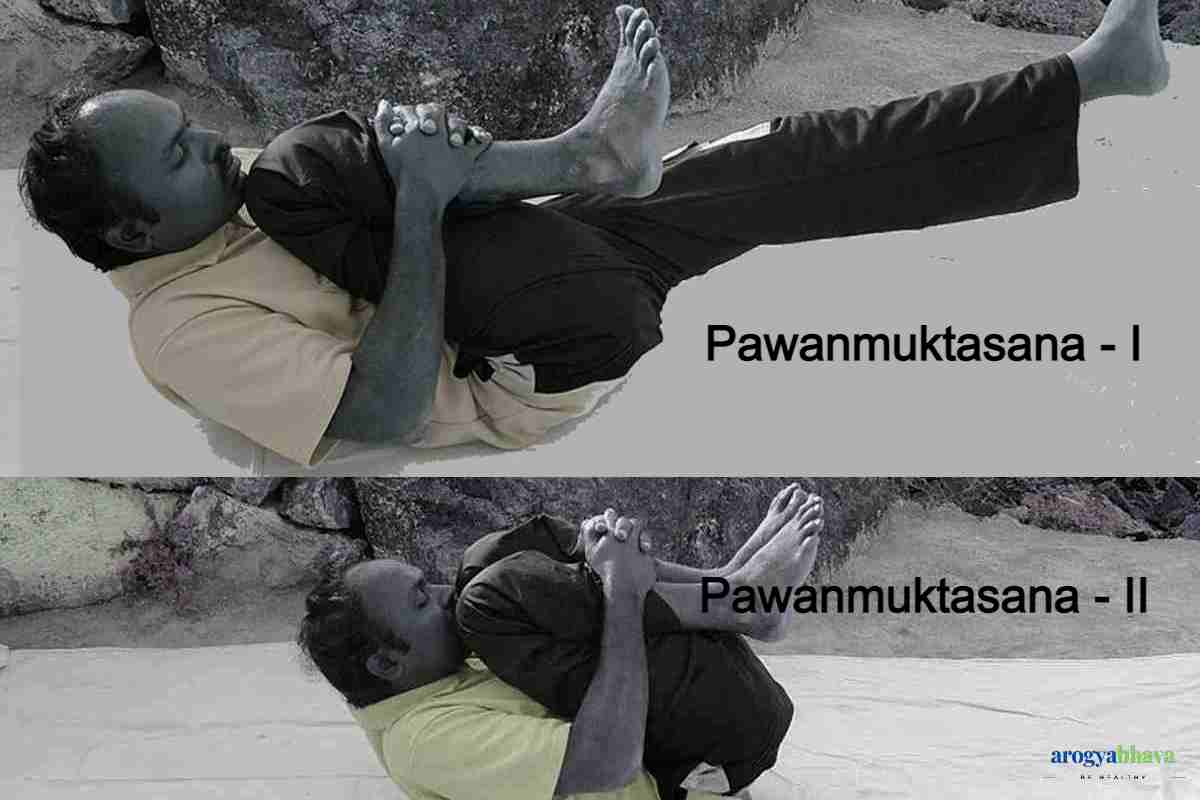
- Lying straight, keep the knee of the right leg on the chest.
- Place both hands on the knees with the fingers interlaced, while exhaling press the knees to the chest and while lifting the head, touch the nostrils with the knees (Pawanmuktasana I).
- Holding the breath outside for some time for about 10 to 30 seconds, stay in this position and then straighten the leg.
- Do this 2 to 4 times.
- Do the same with the other leg.
- In the end, this exercise should be done with both legs together (Pawanmuktasana II).
- This one is complete. In this way, 3 to 4 cycles can be done.
- While holding both legs, also massage the waist. The body should also be rolled back and forth, right and left.
Pawanmuktasana (gas release pose) Benefits
- This asana is its name and quality. It is very good for abdominal flatulence.
- This is beneficial in gynaecological disorders and uterine-related diseases.
- Beneficial in acidity, heart disease, arthritis and sciatica.
- Reduces belly fat
Precautions to be taken in Pawanmuktasana (gas release pose)
- If there is a lot of pain in the waist, do not lift your head and touch your nostrils with your knees. Just press the feet and touch the chest.
- By doing this, you get relief in slip disc, sciatica and back pain.
